French polishing – Learn how to French Polish
This article will teach you how to French polish professionally using shellac or button Polish and also offer an insight into the history, techniques and products needed to French polish your furniture to a beautiful sheen. This technique has been used for centuries on wood furniture, musical instruments such as Pianos and Guitars and used in the restoration of antiques.
Table of Contents
Brief History on French Polishing
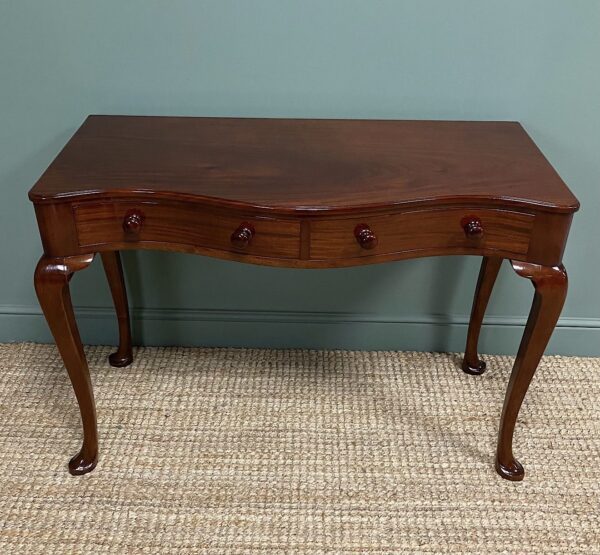
French Polishing is a traditional finishing technique of applying thin layers of shellac polish onto wooden antique furniture to produce a very high gloss finish and enhance the natural colour and appearance of the wood. It has been around for hundreds of years and was first developed in France in the early 1700’s. Shellac is a natural product produced from the shells of lac beetles which are mainly found in India. French polishing became very popular during the Victorian period and was widely used on quality and expensive pieces of Antique furniture. Shellac polish was considered the highest quality finish for exotic timbers such as Mahogany, Rosewood and Walnut, as it produced such a beautiful sheen and brought out the pattern and unusual figure of the wood. The process of French polishing was very labour intensive and many cabinet makers and restorers abandoned the technique around 1940, when furniture started being manufactured much faster and in larger quantities thanks to the use of machinery. This lead to the development of modern spray lacquers which was a lot quicker to apply.
Learn how to French polish
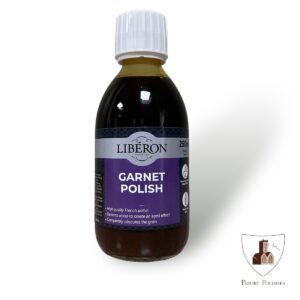
French polishing will only work if you use high quality products, so first we have to stress that the better quality polishes will give you better finishes. We have been French polishing for over 20 years and only supply what we believe is the highest grade of French polish. There are different types of polish, firstly there is Priory Polishes Shellac French Polish. This will offer a warm golden finish. Our Transparent, special pale French polish gives a clear golden shade. Both can be applied using French polishing brushes or a polishing rubber.
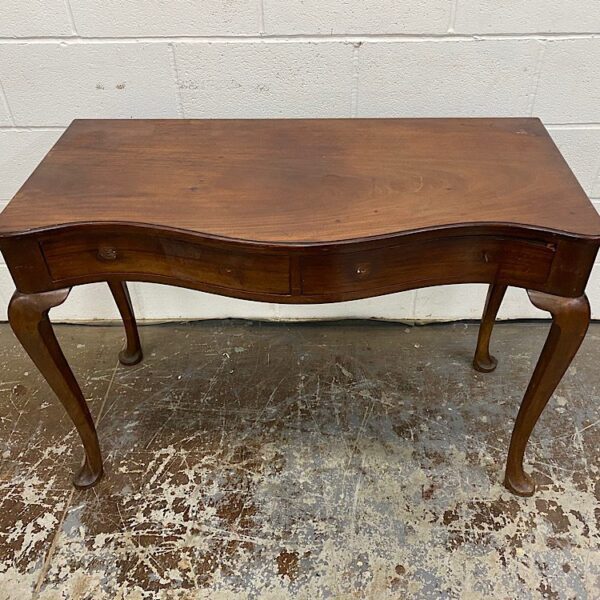
Preparation before French polishing
In order to achieve the best results, you need a good clean, spacious, warm and tidy working environment.
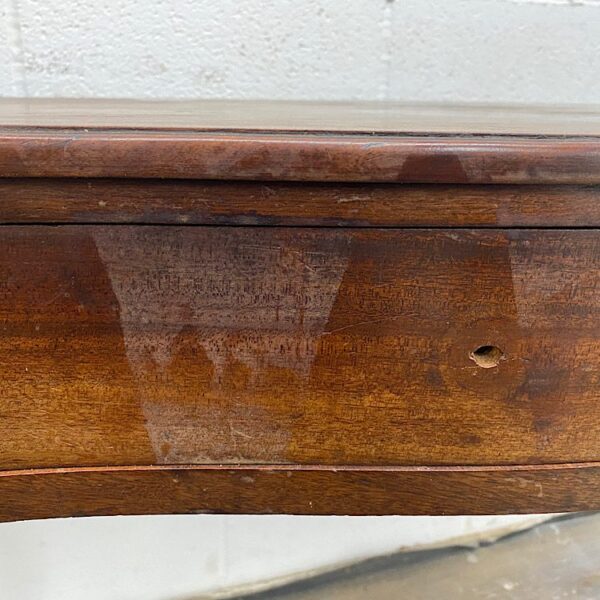
Firstly check over the entire piece and repair any damage of the wood including veneer repairs, loose mouldings etc. As any loose pieces will become difficult to deal with once the finishing process has begun. Remove all handles, hinges, fittings, brassware or ironmongery before beginning any sanding or stripping.
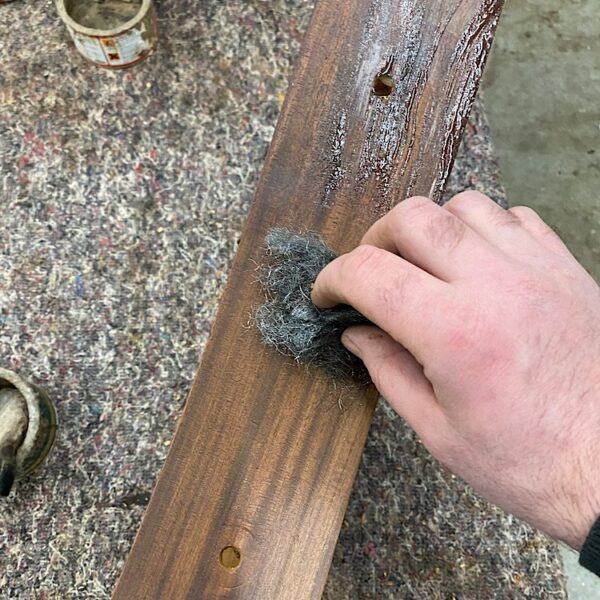
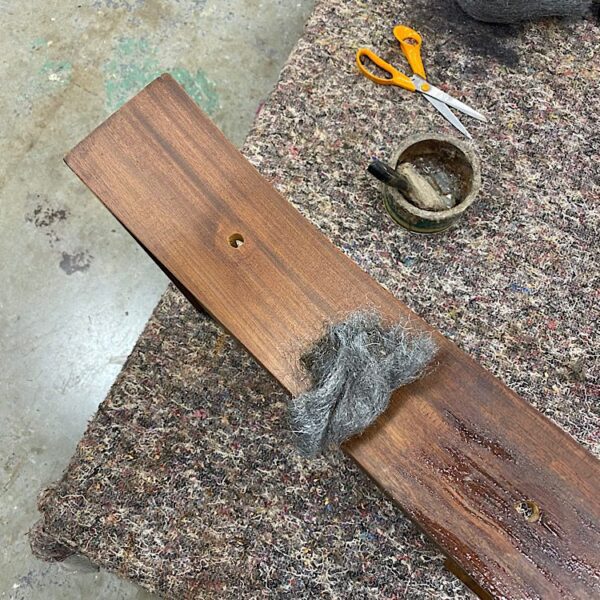
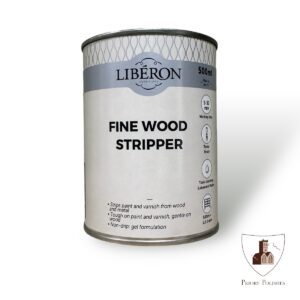
If there is an existing old varnish finish you will need to remove this by using a paint stripper using a scraper and course wire wool. Once all the old finish has been removed you should then neutralise the surface to remove any residue left behind that may attack any subsequent finishes and cause any reactions during the finishing stage.
Wax-fill any holes with a suitable colour and buff off any excess. Any larger holes / dents use a good quality wood filler.
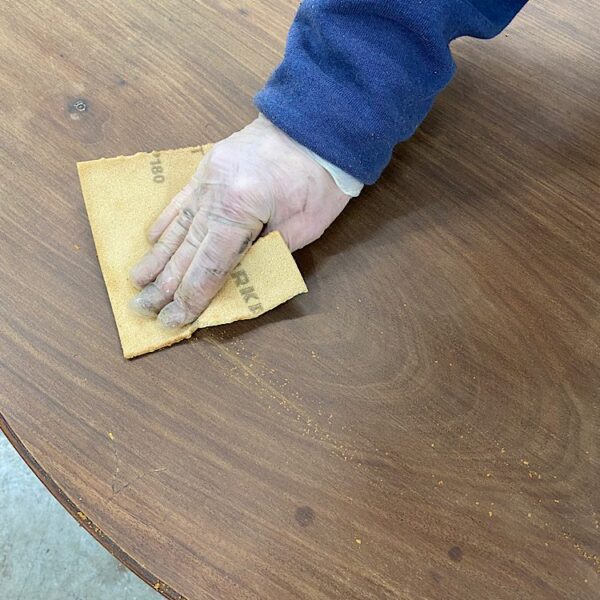
Once complete sand over the whole area. It is important to achieve a good flat surface as any imperfections will become visible once to polish is applied and the sheen is starting to build. Only sand using a fine sanding pad or sanding paper and always in the direction of the grain to prevent any cross scratches. Sanding with a very fine pad will also close the pores of the wood grain.
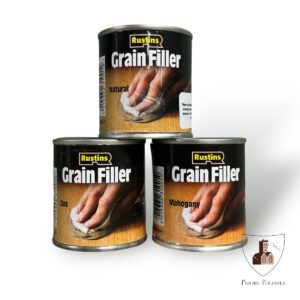
If needed, stain your timber to the suitable shade and for best results you can use a grain filler on open grain timbers, such as Mahogany. The grain filler will close the pores of the wood to make a smoother final finish.
Seal using Shellac Sealer
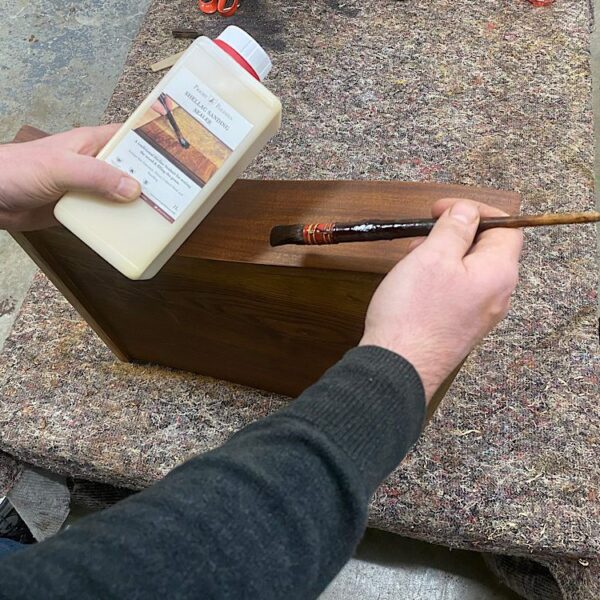
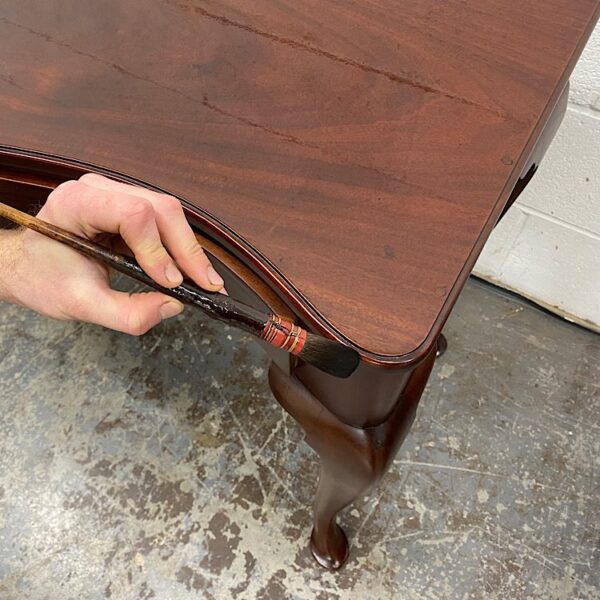
Once you are happy with the colour of your timber and all preparations have been carried out you will need to seal the wood using a Shellac Sanding sealer. Using a soft hair French polishing brush and apply a thin, even coat in the direction of the grain. This will give a nice even base coat and seal in any stain if used. Once this is dry you can then lightly rub down the surface using a very fine sanding pad and wipe off any dust before further application. If you are using the Transparent special pale French polish do not use a sanding sealer, just skip to the polishing section.
Applying French polish
Next apply a thin coat of French polish using the soft hair polishing brush or for a smoother finish you can start building up thin coats of polish using the rubber in the direction of the grain (please see below on how to make a polishing rubber). Always allow drying time between coats.
How to make a French Polishing rubber
Making an appropriate French polish pad is extremely important in the process of adding shellac to a piece of antique furniture. It is very easy to make a French polish pad. All you need to do is first
1. Cut a 6 inch square of cotton wadding and fold it in half and fold over the corners to form a point like a triangle.
2. Fold the outer corners of the triangle to make a pear shape pad with a smooth sole, it is very important that the sole is flat when held between the fingers as the idea is to produce a firm core to the polishing rubber pad.
3. Cut out a 9 inch square piece of white cotton cloth and place the pad of wadding diagonally across the centre of the square cotton cloth.
4. Start by wrapping, in turn the triangular corners of the cotton cloth over the centre while holding the core between index finger and thumb to make a fold to form the point. Make another fold and turn the ends together under the core of the pad.
5. While holding the wrapped pad in one hand, pull the excess loose cloth across and start to twist together to tighten, bringing all the loose ends together.
6. Fold the twisted ends of the cotton cloth over the pad to fashion a hand grip, leaving a smooth and crease free sole to the pad.
7. When not in use, the rubber pad must be stored in a sealed container to prevent it from drying out and going hard.
French Polishing with a Polishing Rubber.
Ensure the wood that is going to be French polished is clean, dry and free from dust and dirt etc.
When French polish is being applied with a rubber, shellac can be sticky; therefore it can be difficult to glide across the woods surface. To solve this problem, apply a very small amount of linseed oil on to the outer surface of the rubber pad before each use. Do not use oil on your finishing coats as you need to work out the oil for the best finish.
For experienced French polishers, there are various motions for applying polish with a pad. There are straight strokes which must follow the grain. Interlocking figure of eight motions for building up layers of polish. Wide circles for initially spreading the polish.
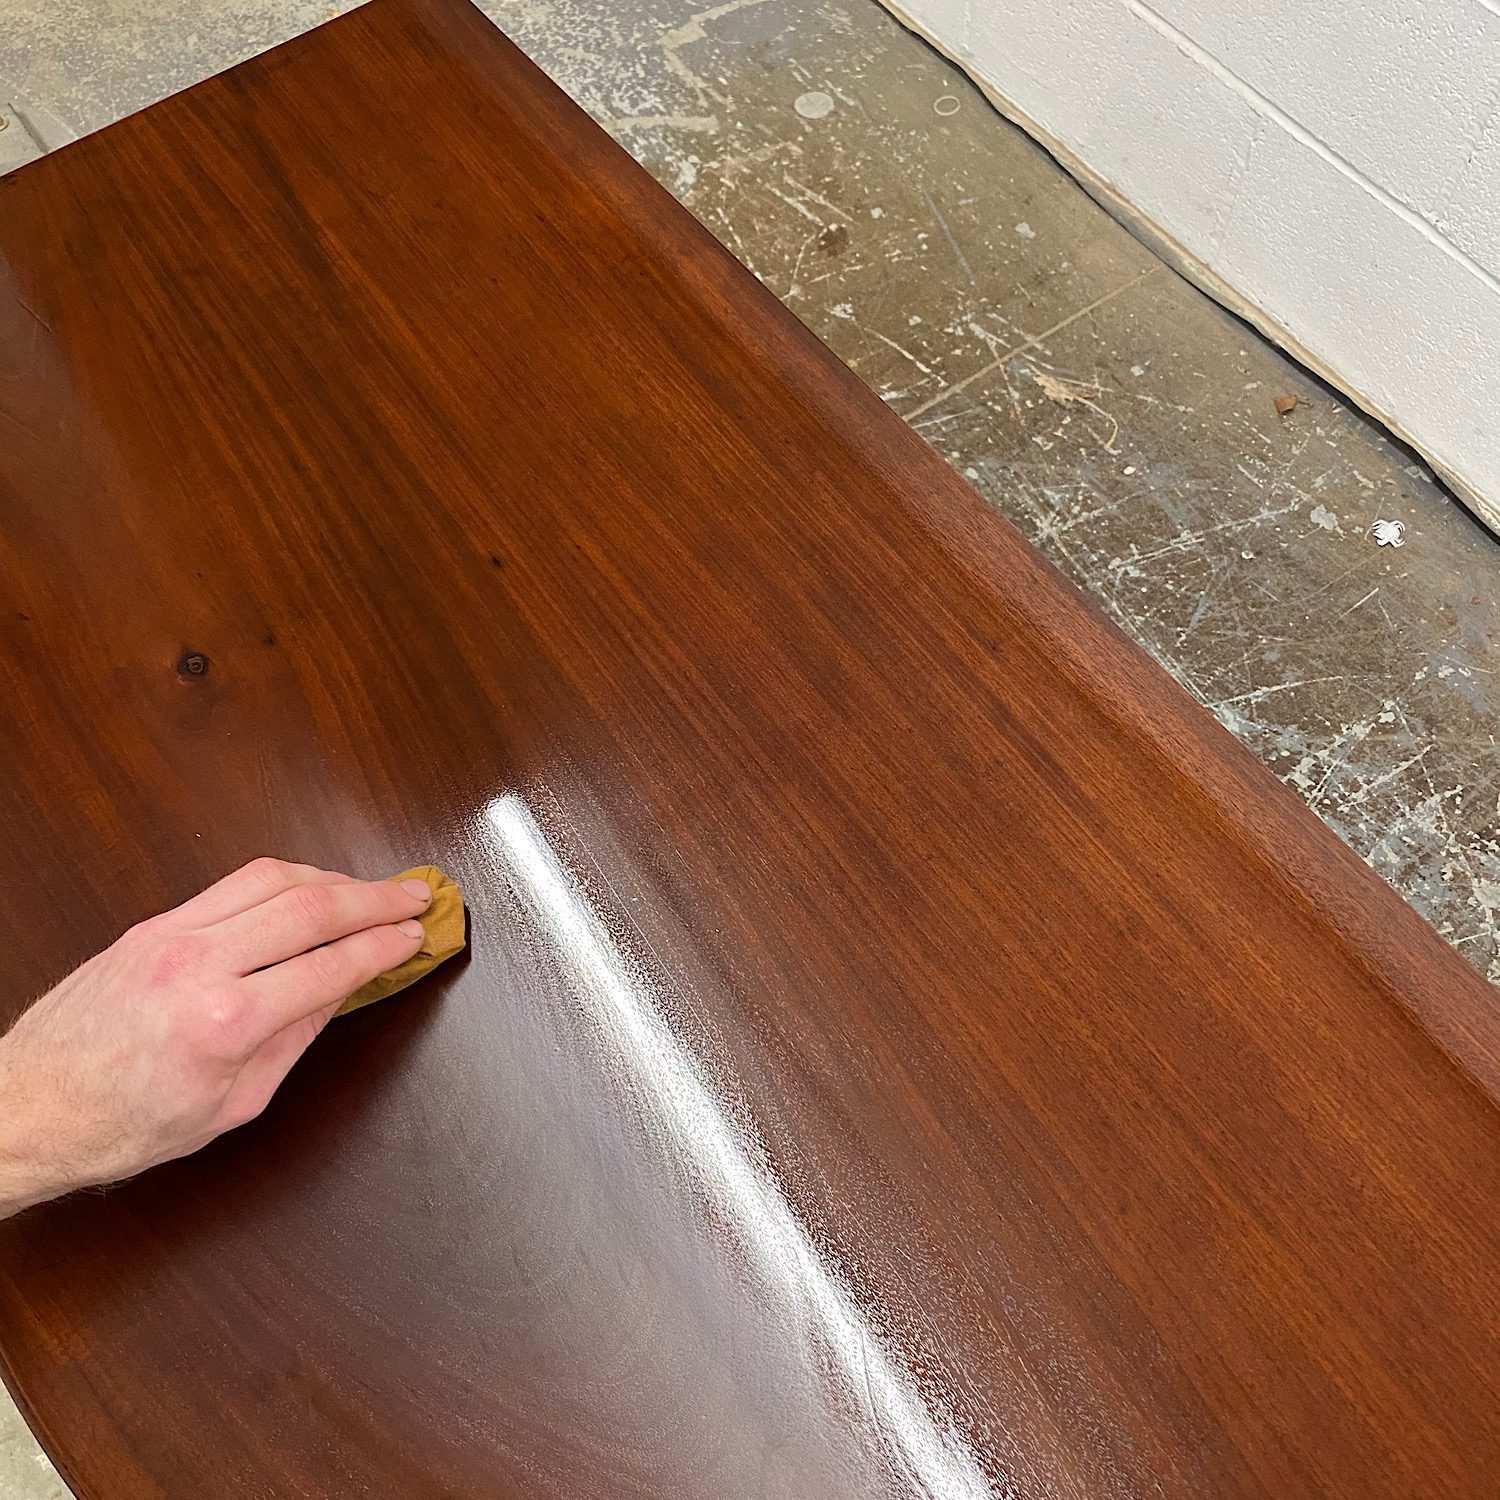
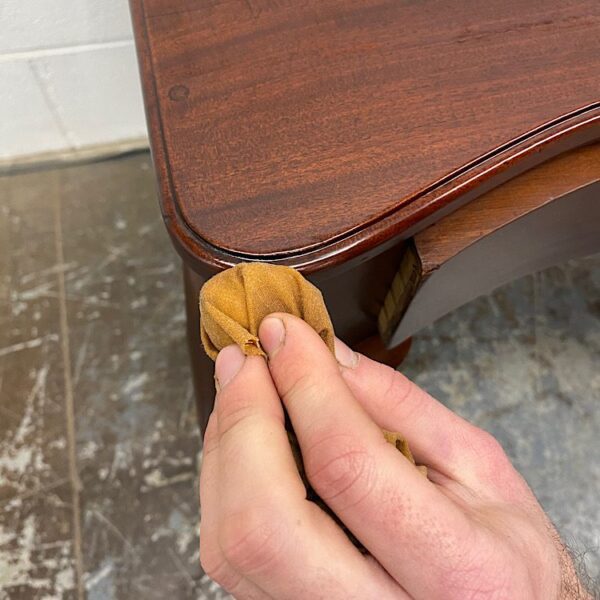
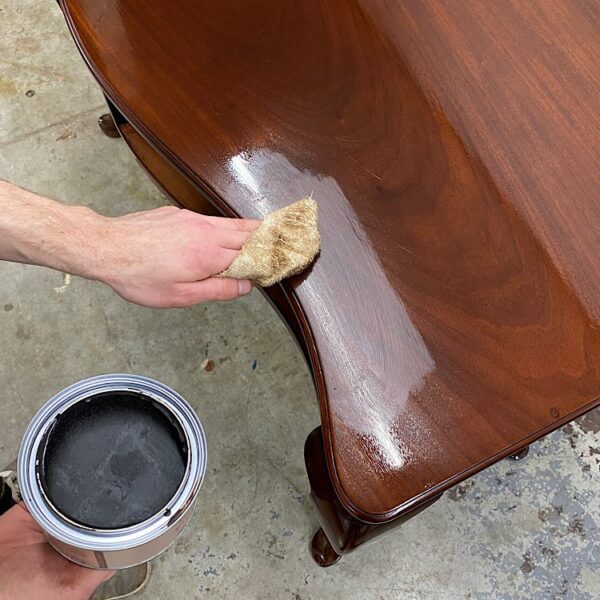
The shellac polish is applied by opening the pad and charging the cotton wadding with approximately 4 tablespoons of polish. Make sure you don’t dip the rubber pad directly into the polish. Tighten the rubber pad once more and squeeze out any excess polish before you start. Make sure when you start to apply the polish you always start from just off the edge and work with the grain and then take off like a plane once you get to the opposite end of the surface to avoid any build up in the corners. Putting pressure onto the rubber allows the polish to seep through onto the surface.
Using the Polishing Rubber
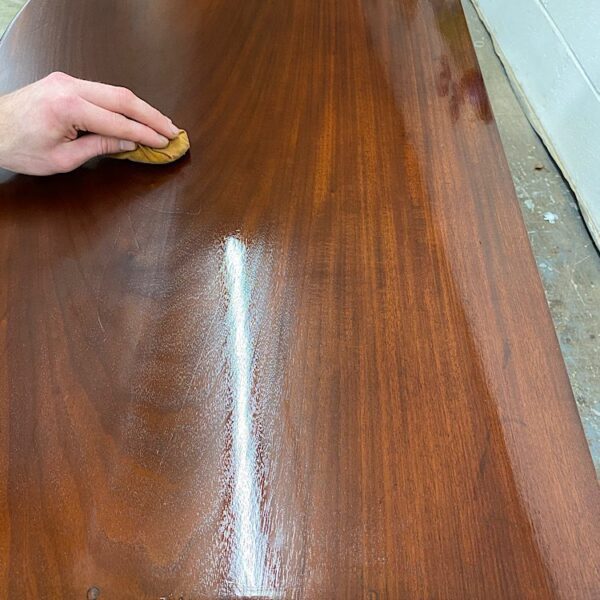
1. Begin by applying extremely thin layers of shellac polish to the surface using parallel strokes in the direction of the grain. The rubber should be recharged when necessary.
2. After a few applications using the parallel method, start to coat the surface using alternating circular and figures of eight motions, this combination of strokes will build the layers of French polish up and fill the grain of the wood. This process is known as ‘bodying up’.
3. This should then be left as long as possible to dry, preferably over night to be safe.
4. Now lightly sand out any blemishes and dust particles that have become embedded in the surface using an extremely fine sanding pad to avoid scratching the surface.
5. This process should be repeated until there is a substantial build of polish that has been achieved. This could mean several passes over the surface of the wood to complete this step.
6. After the final application, let the piece fully dry for 24 hours before proceeding to the spiriting off process.
Spiriting off French Polish
This is the final process but is a more advanced technique so would not recommend doing this unless you are completely confident. Over spiriting off will soften the polish and cause streaks in the finish so be extremely careful. An easier solution is to burnish the finish using our polish reviver as this will flatten the surface and reveal a stunning sheen.
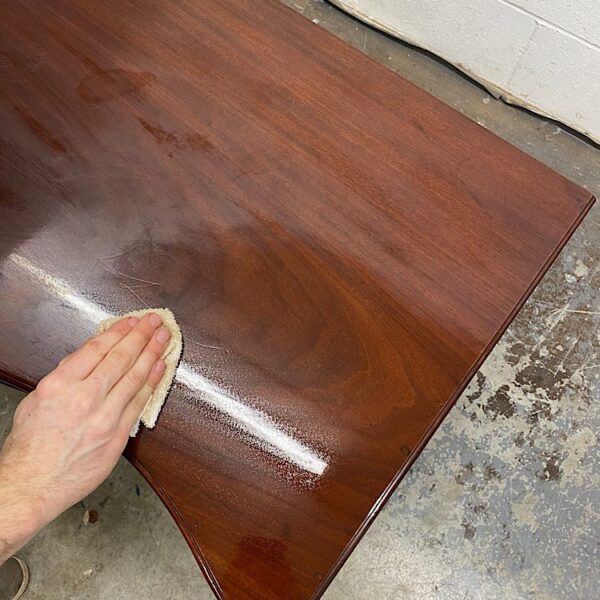
Spiriting off involves working out any last oil from the surface. This should be done with thinned down polish of a ratio of 50% French polish to 50% of methylated spirit. You should also use a fresh clean, oil free rubber. Charge the new rubber with the thinned down polish and apply using very light pressure in straight slightly over lapping strokes in the direction of the grain. This should be left for a while after each coat as the surface film is partially dissolved and pulled flat by the rubber due to the methylated spirit which softens the finish. Done correctly will give you a high sheen ‘Piano finish’.

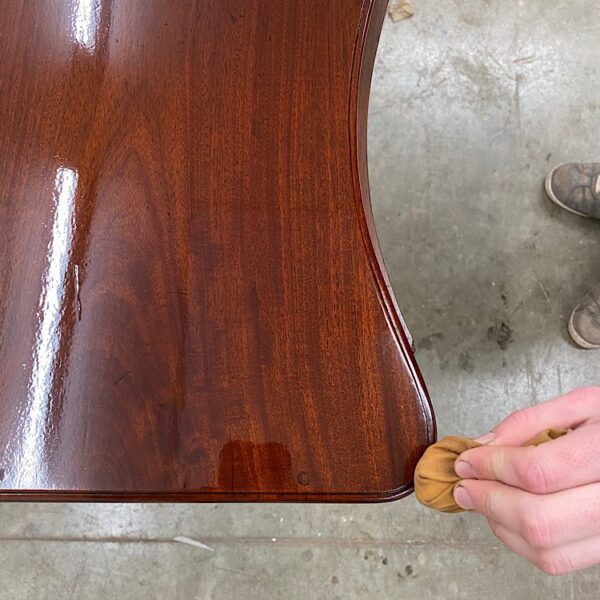
Spiriting off with a rubber to a high sheen
Finishing with wax Finish
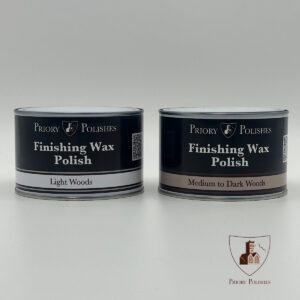
Once you have finished French polishing your furniture, ensure it is fully dry, leave for at least 48 hours to fully cure. It is essential to keep this in good condition and keep the finish maintained for added protection. To do this we recommend using a good quality bees wax like our Priory finishing wax. Antique furniture should be waxed on a regular basis as the wax feeds, protects and nourishes the timber
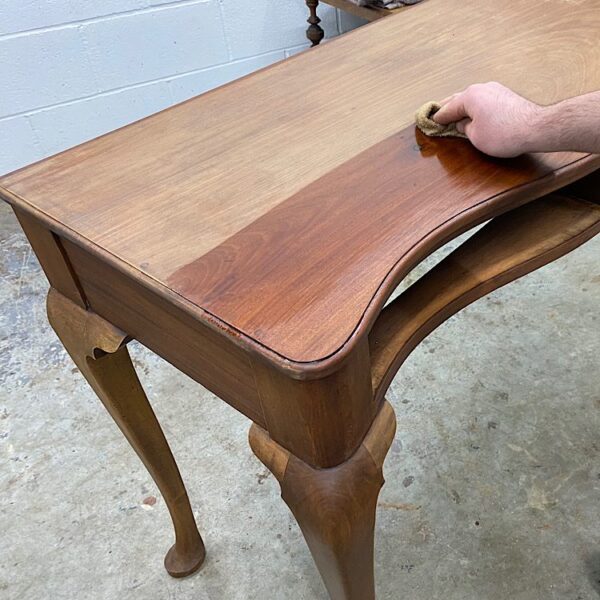
Then to apply the wax take a clean buffing cloth and apply in the same direction of the wood grain where possible. To obtain a uniform colour, always wipe evenly, blending the wax over the whole surface area by using a small amount of pressure when applying by hand. Once the entire surface is coated, it should be left to dry and soak into the timber for about 10 minutes. Then once the wax is dry remove any excess using a separate clean cloth to buff off. The application of additional coats of wax will deepen the existing colour and significantly enhance the resulting sheen level.
Common Problems when French Polishing
Here is a list of the most common problems that may occur whilst French Polishing and how to resolve them.
- The rubber is sticking to the surface
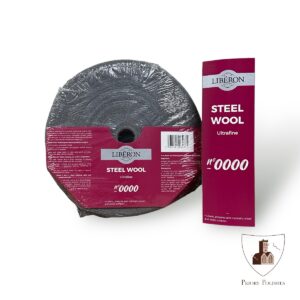
If the rubber starts to stick, you may find it will judder across the surface leaving imprints behind. A rubber that sticks to the surface could indicate that it needs recharging with French polish. It could also be the build-up of polish that is not dry enough to allow you to apply any more coats. You may encounter this more often when working on flat surfaces such as table tops. The best solution is to stop and allow the surface to fully dry. Then lightly sand flat with a very fine sand paper or with a fine abrasive such as our ultra-fine wire wool (0000) before continuing. Alternatively, the rubber can be lubricated with a small amount of linseed oil, applied onto the sole of the rubber. This will allow you to apply more layers of polish for longer periods without the rubber sticking to the surface.
- The rubber leaves blobs of thick polish behind
If the rubber starts to leave blobs of polish behind, this is most certainly caused by overcharging the rubber. This can also be caused by squeezing the rubber too tightly which expresses more polish than needed to complete the pass. The best course of action is to stop and let the polish harden fully. Then carefully smooth the blobs flat with very fine sandpaper or ultra-fine wire wool (0000) before carrying on.
- Streaky uneven polish
If the polishing mop or rubber starts to leave the surface looking streaky and uneven, too much polish has been added in the mop or rubber. For beginners there is always a temptation to overcharge the mop/rubber with polish. You should always try to resist this because the result can lead to a raised uneven trace line of polish behind the mop/rubber as you pass over the surface. If you notice this quickly enough, you might be able to smooth the raised line straight away by passing over the surface again with the mop/rubber whilst the polish is still soft. But the best advice is to stop let the polish fully dry for several hours and sand the raised lines nice and flat.
- Pin holes in polished surface
If you start French polishing a large surface and come across small pin holes, this is usually because the polish is soaking into the grain of the wood too quickly. This is commonly found in open grained timbers such as Mahogany, where the pores of the wood are very raised and open. The best remedy to resolve this problem is to strip off any existing polish back to bare wood and start again. You should use a good quality thixotropic grain filler and apply with a soft cloth using circular motions to work it into the grain and finish by buffing off the excess in the same direction as the grain. You can lightly pad over with a very fine sanding pad after grain filling. The wood can then be stained to any desired colour after this before the French polishing process once more.
- White Blooming appearance on the surface
Blooming is a common fault that can occur during the French Polishing process, where white patches appear on the surface between coats of polish. It is caused by a mixture of moisture in the air, particularly on humid or rainy days. To resolve this problem you can simple lightly sand the surface flat and apply further layers of shellac polish making sure there is no methylated spirits mixed in the polish (as methylated spirits contains a small amount of water). Instead use 100% denatured alcohol. If there is an adequate amount of polish present, you may be able to use our Priory polishes polish reviver to remove the white bloom on a finished piece.
- Fine scratches
Fine scratches or tramlines left in the polish after applying French polish, are likely to be caused by a speck of dirt or dust, either from the sole of the rubber or from the surface itself. It is always important to ensure the rubber is put away in an airtight container after use and the surface is dust free between sessions. The only remedy for this is to lightly sand and flatten the surface with care in the same direction as the grain and re-coat.
- The polish looks thick
If the French polish is too thick, you will be able to see this before you start applying or just after you have tested a section. This is because it will not leave the mop evenly or bleed through the cotton wrap of your rubber evenly. There is a very easy fix to this, simply add more denatured alcohol to the shellac polish and stir well.
- Polish has reacted
Sometimes reactions can occur while French polishing and this can be caused by a few things. If the weather is too hot and humid the polish might be drying too quickly as it is being applied. Too many layers of polish being applied over a short space of time can cause the polish to react as each coat that is applied softens the layer underneath.
Materials Needed for French Polishing
These are the products you will need for professionally French polishing your furniture.
-
 Priory Polishes Shellac Sanding SealerPrice range: £12.99 through £119.95
 -
Priory Polishes Shellac Transparent Polish – 1 Litre£29.99
-
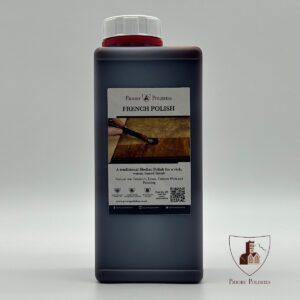
Priory Polishes Shellac French Polish – 1 Litre£29.99


-
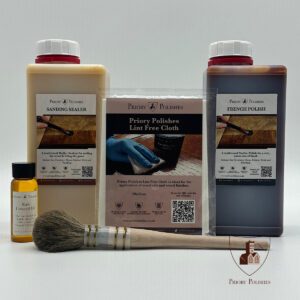
French Polishing kit£89.99
-
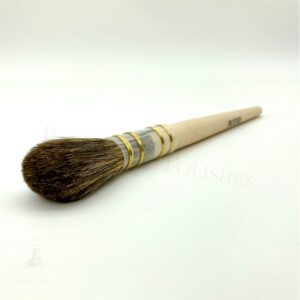
French Polishing Brush£28.00
-
Priory Polishes Finishing Bees Wax Furniture Polish – 400 ml£16.95
-
Liberon Fine Wood Stripper – 500 ml£12.95
-
Ultra Fine 0000 Steel Wire WoolPrice range: £5.89 through £18.95

1 Comment. Leave new
What an interesting and helpful guide this is, it has helped me learn how to French Polish properly