How to Lime Wood
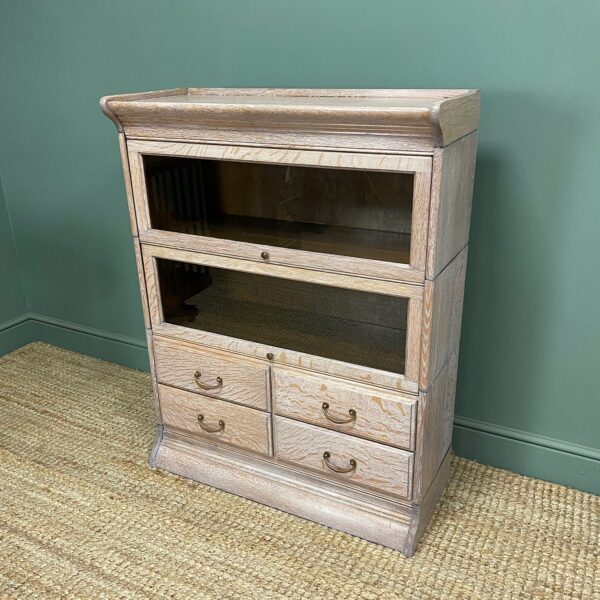
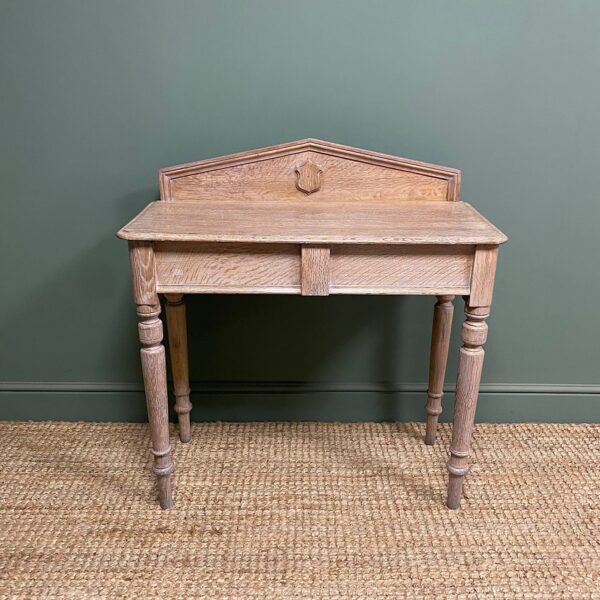
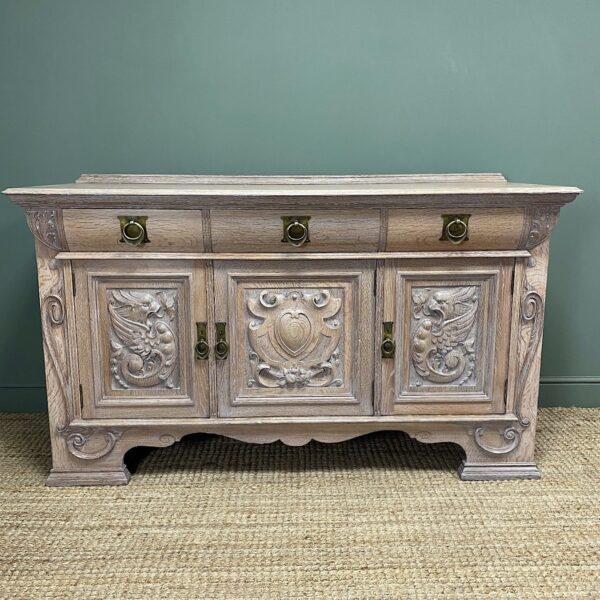
Below is a simple step by step guide on how to lime wood. This is especially effective on hardwoods like limed Oak furniture but can also be used on some softwoods like Pine. Originally, a Limewash was used as a liquid form whereas today it is produced using a far less messy and easy to use Liming Wax / Paste.
A brief History on Limewash
Limewash is one of the oldest paints in history used as far back as 3000 BC in ancient Egyptian times. It was originally used to preserve timber and stone on buildings. It was not until the 17th Century liming was used on furniture to produce an unusual decorative finish. Lime wax furniture has become very popular with today’s modern home as it offers a unique and distinctive look.
Step by Step Guide on how to lime wood
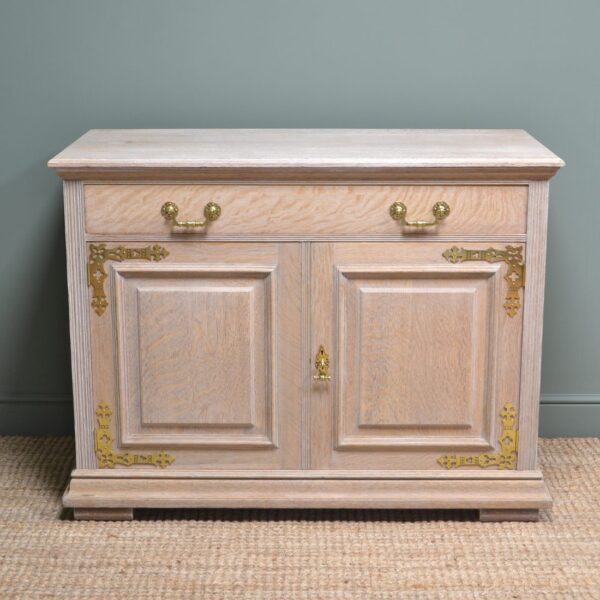
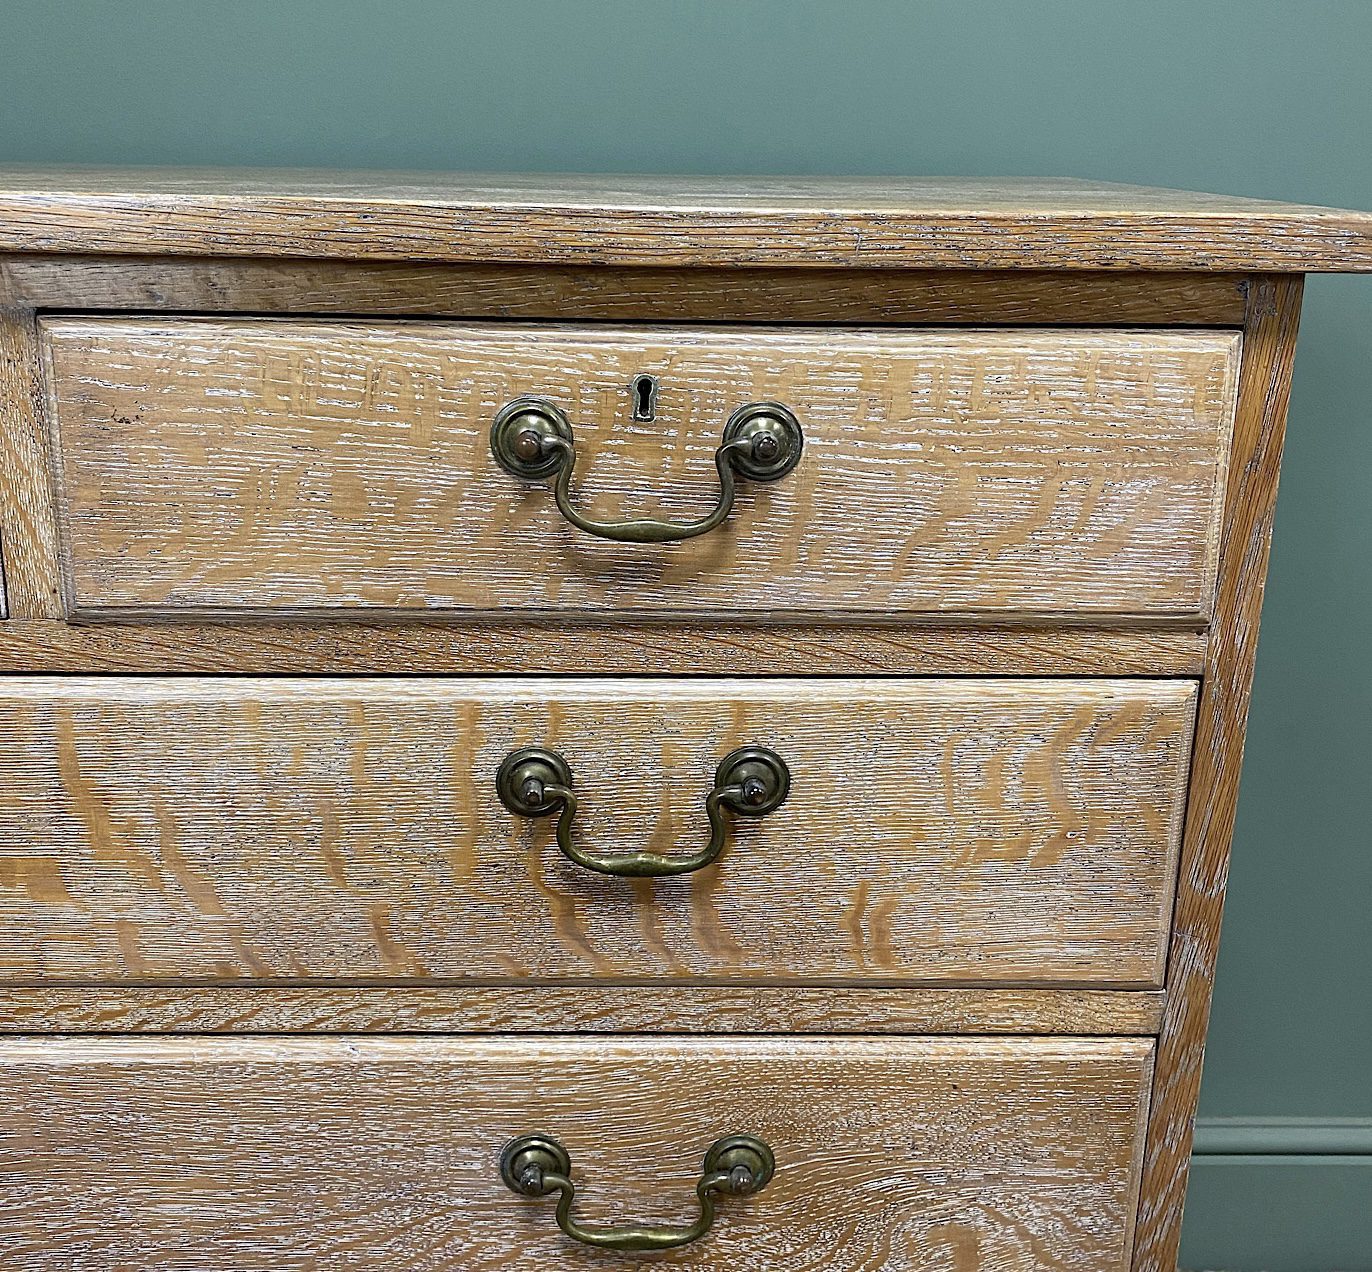
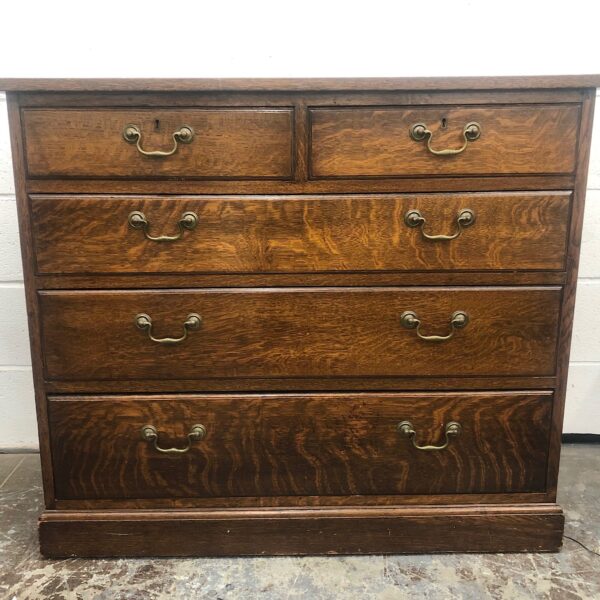
For this example, we found a 1920’s Oak chest of drawers in a very sorry state. It was badly scratched and in a very dark dull finish. We wanted to produce a more decorative and modern look to give this chest of drawers a new lease of life. Liberon liming kit is perfect to lime wax furniture and wood around the home.
1. The first thing you should always do is remove all the brass handles and fittings as this makes the job a lot easier, not having to work around them. This will also give you a better end result.
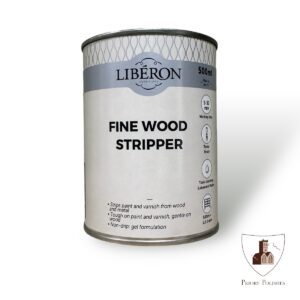
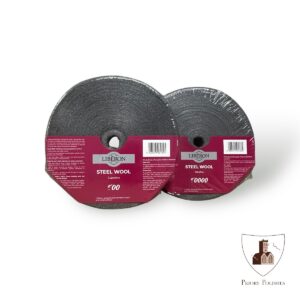
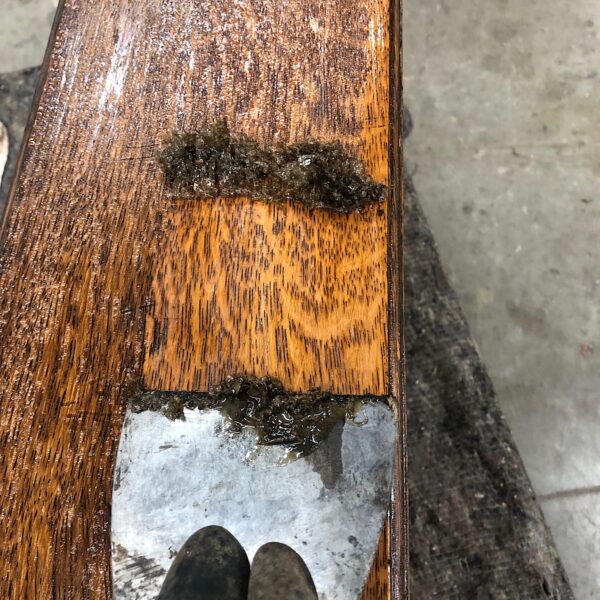
2. The next step is to strip and remove the old tired finish. This needs to be done in a well ventilated area and we recommend to wear personal protective equipment. Apply Liberon Fine Wood Stripper onto the surface and wait for around 15 to 20 minutes until the finish starts to react and bubble. You may now need to apply another fine coat of stripper to wet the area again and then use a scraper to remove the first layer. Re-apply the wood stripper and again wait around 15 minutes. Now use a very course wire wool (grade 4 Liberon Steel Wool is ideal) to remove the last of the stripper and finish. Always wire wool in the same direction of the grain of the wood. You will start to see the natural colour and grain show through the wood.
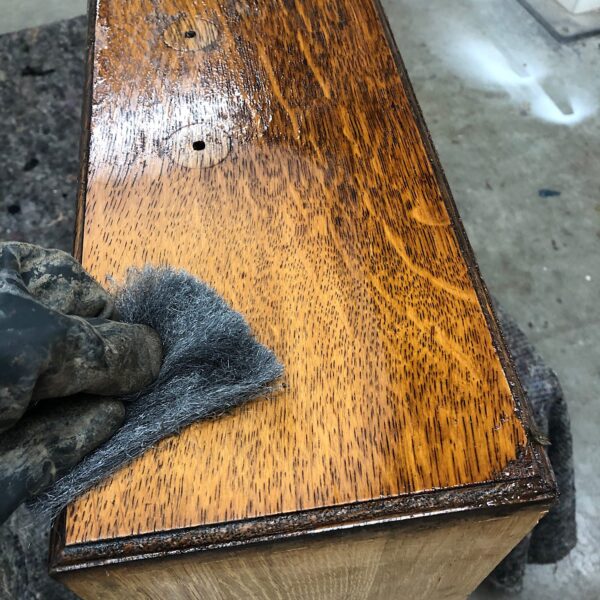
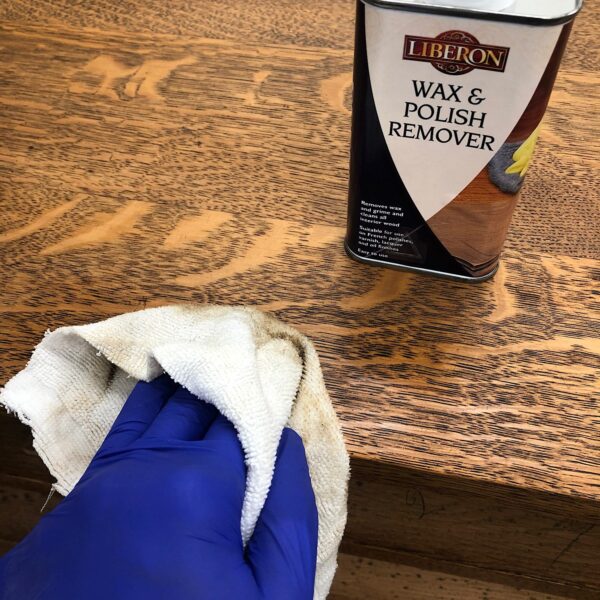
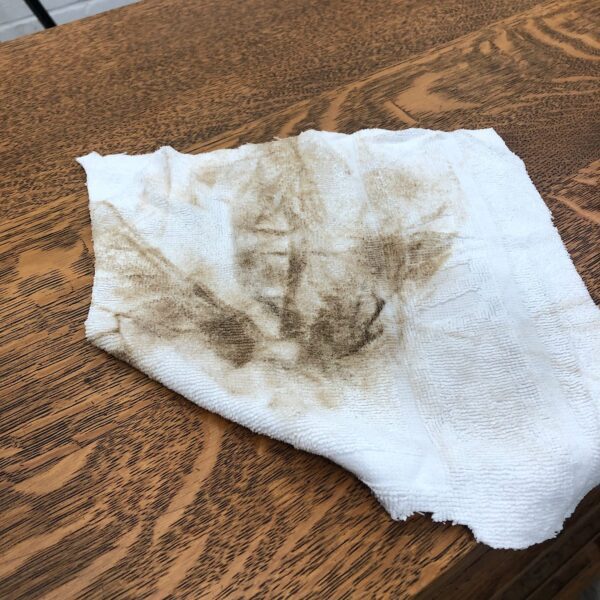
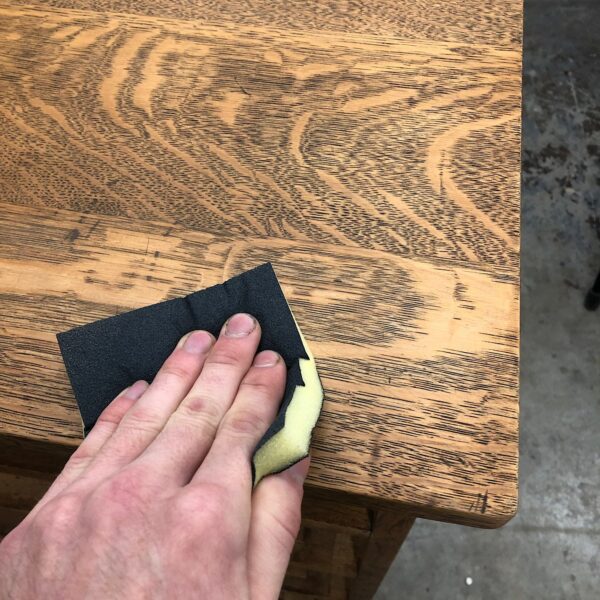
3. Once all the old finish has been removed, it is important to neutralise the wood to remove any excess residue left behind from the stripper as this can cause reactions in the newly applied finish. To do this, use Liberon Wax and Polish Remover with a clean cloth and wipe over the entire piece in the direction of the grain. Once this is dry, remove any blemishes using a sanding pad or paper, again in the direction of the grain.
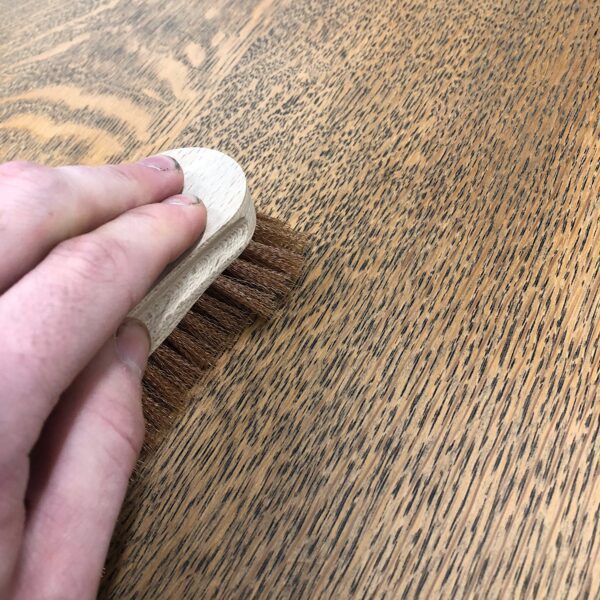
4. In order to lime a piece of wood, the pores of the grain must be open so that the liming wax / paste can be worked into them. The Best way to open the grain of the wood is by using a Liberon Bronze Liming Brush, always work in the direction of the grain and use a fair amount of pressure to lift the pores. The more open the grain is, the better result you will achieve.
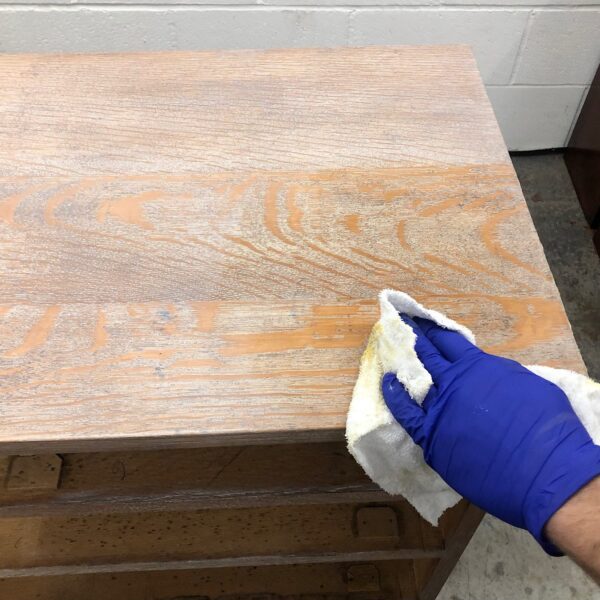
5. After you have finished opening the grain, make sure you wear rubber gloves and use ultra-fine Liberon steel wool (0000) to apply the Liberon Liming wax. Work the liming wax into the grain using circular motions and always finish in the direction of the grain. Then using a clean cotton cloth buff off the excess in the direction of the grain.

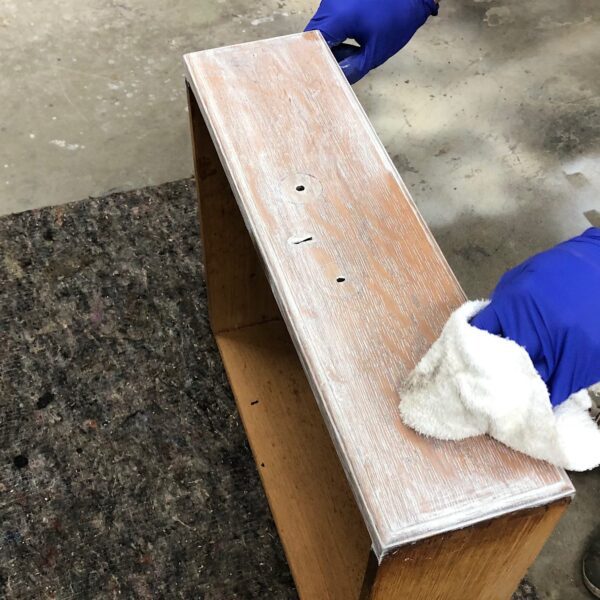
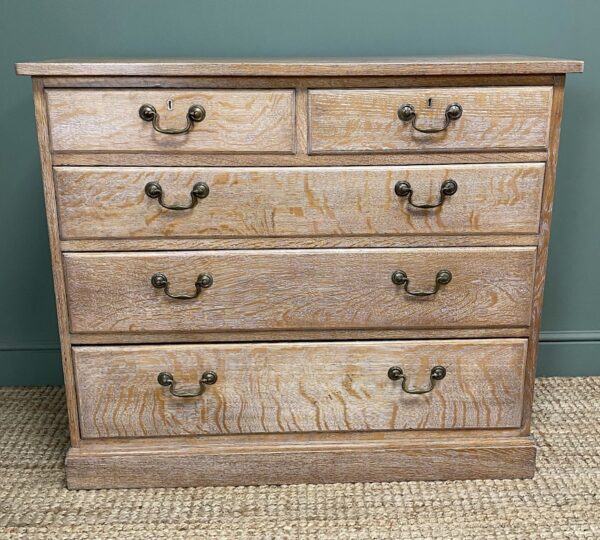
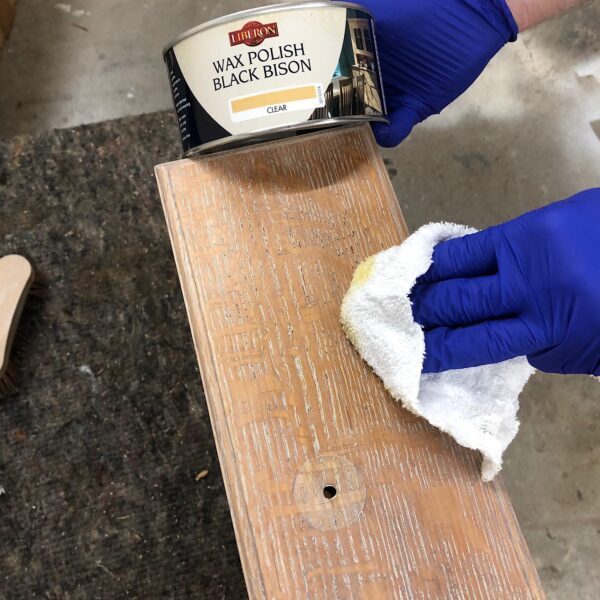
6. Once you have completely finished liming, we recommend to finish using a good quality clear beeswax to enhance the sheen and add further protection to the wood. simply apply the wax using a clean cloth and then once dry, buff to a nice sheen.
-
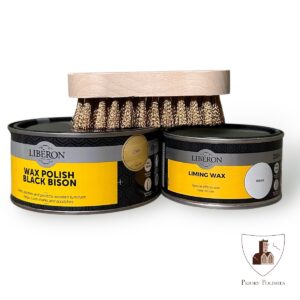
 Liberon Liming Kit£46.95
 -
Liberon Liming Wax – For a Whitewash EffectPrice range: £13.95 through £19.99
-
Bronze Liming Brush£19.50

-
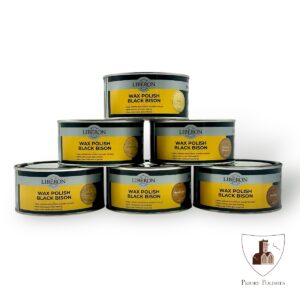
Liberon Wax Polish Black Bison Paste – 500ml£14.00
-
Liberon Fine Wood Stripper – 500 ml£12.95
-
Liberon Steel Wool – 1 KgPrice range: £15.95 through £18.95