How to Clean a Clock Mechanism
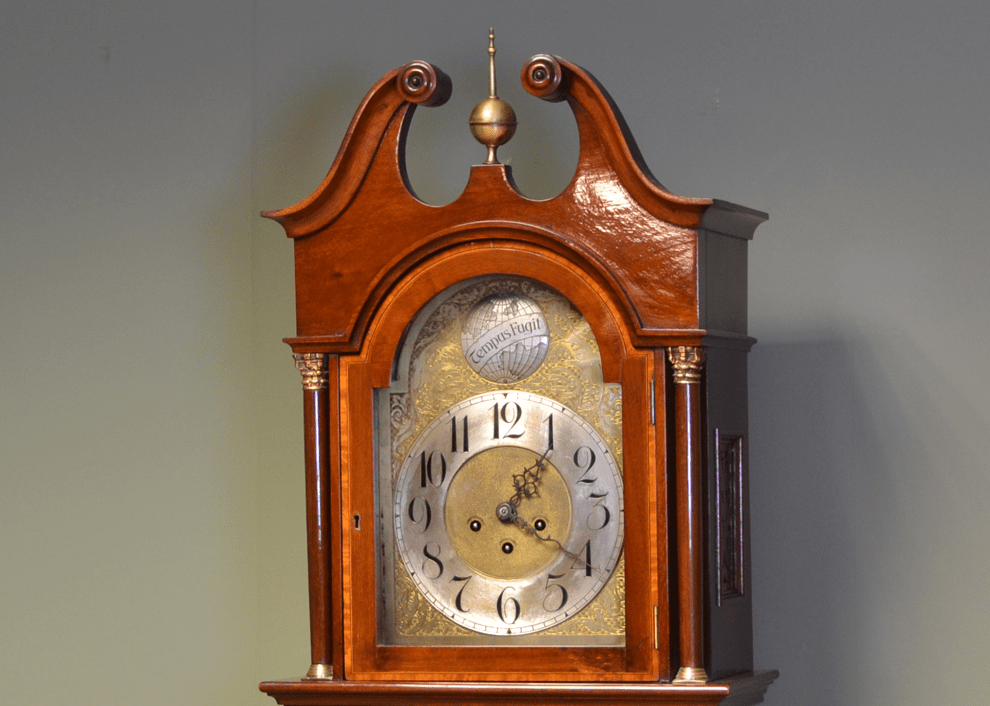
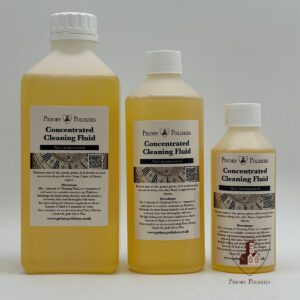
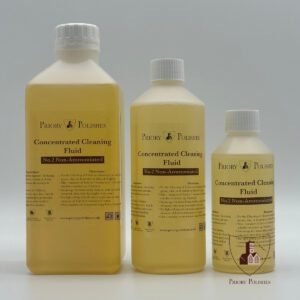
In in this article we are going to teach you how to clean a clock mechanism using a simple clock cleaning fluid that has been used by professional restorers for decades. Priory polishes offer Horological Clock Cleaning fluid, used for cleaning clock movements in two different forms. This unique formula will remove most grease, oil, dirt and tarnish. It is also widely used by antique restorers for the cleaning of Brass, Copper and Bronze metals.
We offer a traditional Ammoniated Clock Cleaning Fluid and this is the strongest solution, but you must use this in a well ventilated area. We also offer our new Non Ammoniated Clock Cleaning Solution, for a far less potent smell than the traditional ammonia version. This is used on earlier, more finer mechanisms and metal.
Cleaning a clock movement
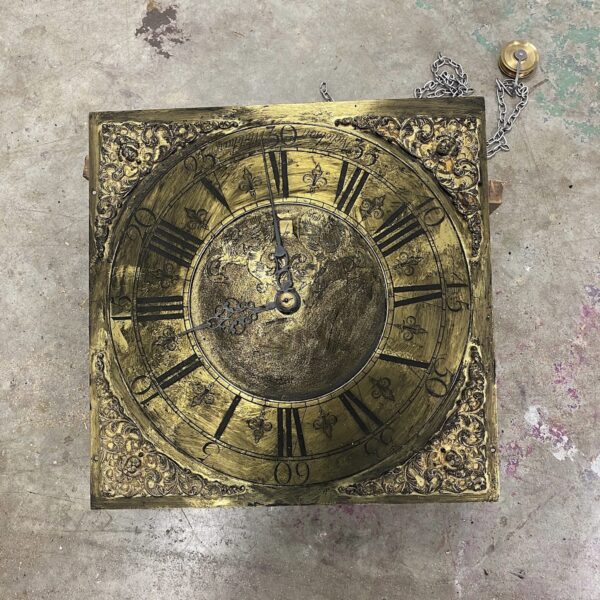
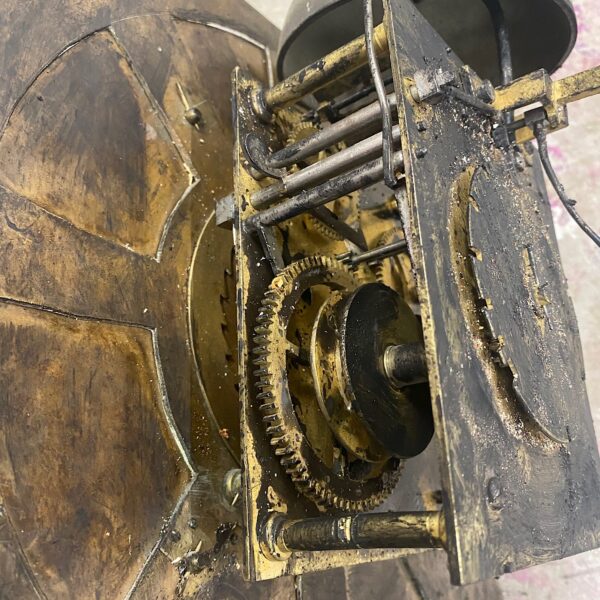
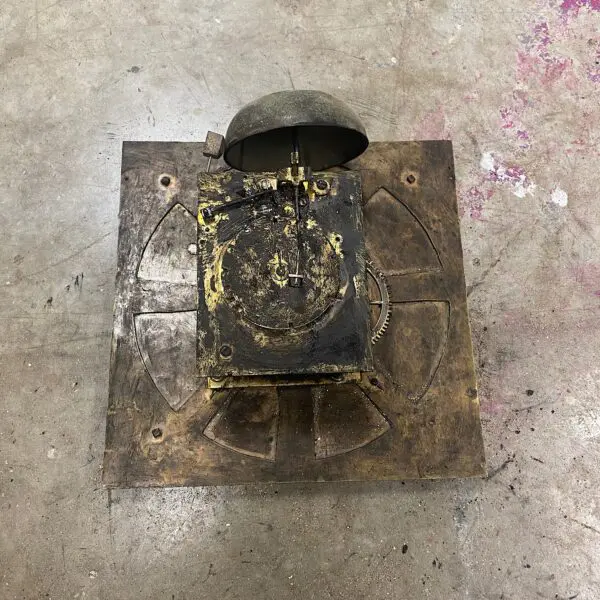
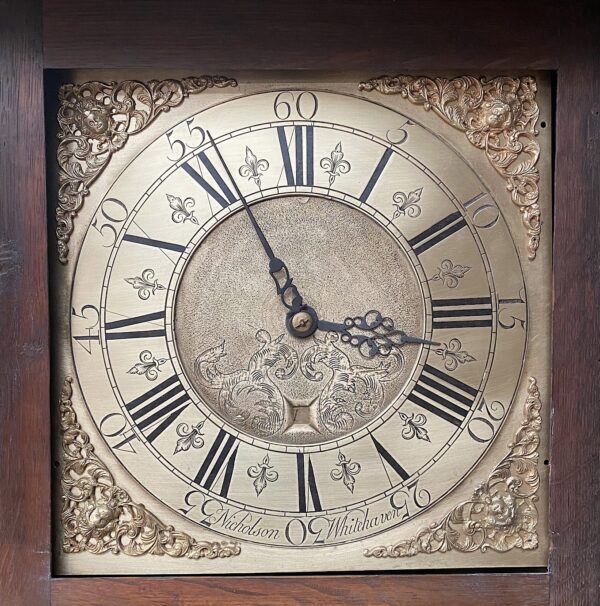
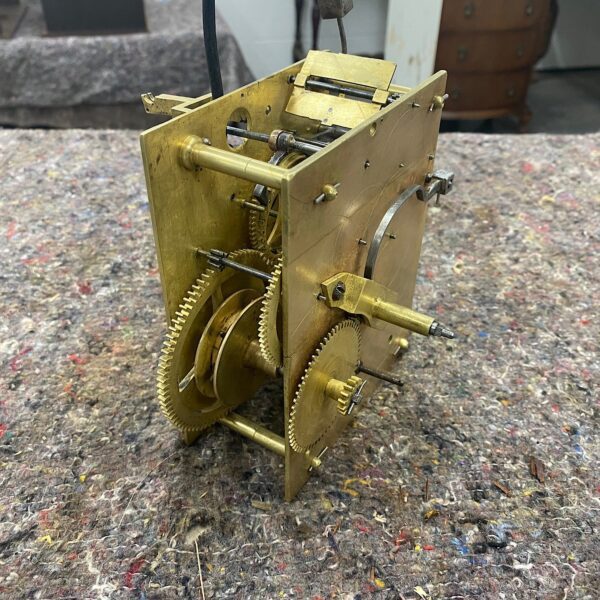
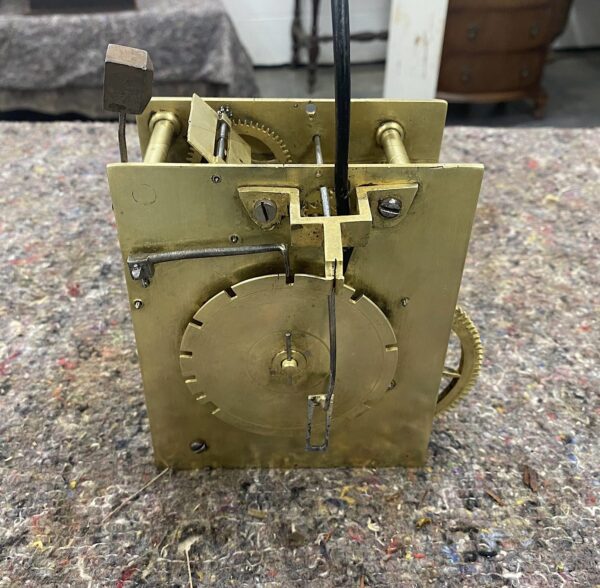
1. For best results, you would dismantle the clock movement into as many parts as possible as this will make the cleaning process far easier and achieve a better finish. Below is an example of a clock mechanism that, as you can see was extremely dirty. The clock Dial also needed to be cleaned so we decided, it was best to submerge the entire clock face along with the movement.
2. Mix one measure of the Clock Cleaning fluid with seven measures of cold water in a suitable container, like a polythene container with lid. You can use a stronger mixture on heavily tarnished brass but best to test a small area first. This fluid can also be used in an ultrasonic machine but for this application make a weaker mixture of one to eight.
3. Always make sure you wear suitable gloves and a mask in a well ventilated area.
4. Submerge the mechanism fully into the mixture and leave to soak. We usually leave it for a minimum of thirty minutes but recommend between one to three hours depending on how stubborn the dirt and tarnish is. We do not recommend leaving for more than twenty four hours.
5. Whilst the mechanism is still submerged, you can use ultra fine 0000 wire wool to carefully rub over the surfaces periodically to help remove years of grime and dirt. You may need to re-submerge several times to achieve a satisfactory finish.
6. Once most of the tarnish is removed, you can use a small soft bristle brush (a tooth brush is ideal) to help remove any dirt in small hard to reach areas, like the rivet and around the small cogs.
7. Once you are happy with the results, you must rinse the mechanism thoroughly with clean water and leave to dry fully. A hair dryer can be used for speed.
8. Re-assemble the mechanism ready to be placed back into your clock case.
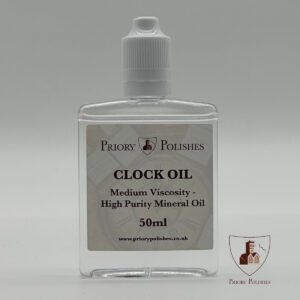
8. Once complete, we recommend using Priory Polishes Clock Oil on all your moving parts as this will keep your clock in smooth working order for years to come.
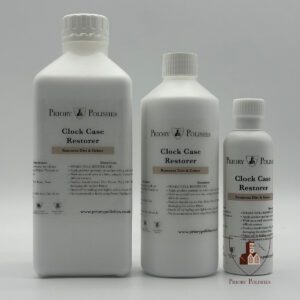
Why not restore your clock case using our clock case restorer, it is a superb solution that offers excellent results. We have done a simple step by step guide here. This can be used on all woods and is perfect for antique pieces as it preserves the original patina.
Additional notes –
As with all chemicals it is vitally important to always wear personal protective equipment and clothing. You should avoid inhaling the vapour as the ammonia can be very strong, so a mask is required in a well ventilated area at all times. Avoid contact with eyes, face, hair and skin. Always keep out of reach from children.
Here are some of the products mentioned in this blog that we used to clean a clock mechanism.
-
 No 1 – Ammoniated Clock Cleaning Concentrate SolutionPrice range: £11.95 through £90.00
 -
No 2 – Non Ammoniated Clock Cleaning Concentrate SolutionPrice range: £11.95 through £90.00
-
Priory Polishes Clock OilPrice range: £6.99 through £10.00
-
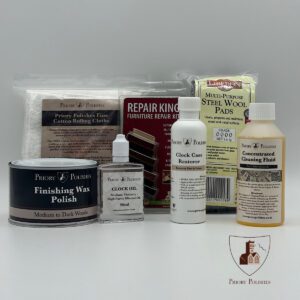
Clock Restoration Kit£52.99
-
Priory Polishes Clock Case RestorerPrice range: £12.95 through £129.00
-
Clock Dial Silvering Restoration Kit£29.95

2 Comments. Leave new
Do you recommend warming your clock cleaner when used in an ultrasonic cleaner?
Thank you for your comment. We do not recommend warming this, but it can be used in an Ultrasonic Cleaner. I hope this helps.
Isabel @Priory Polishes