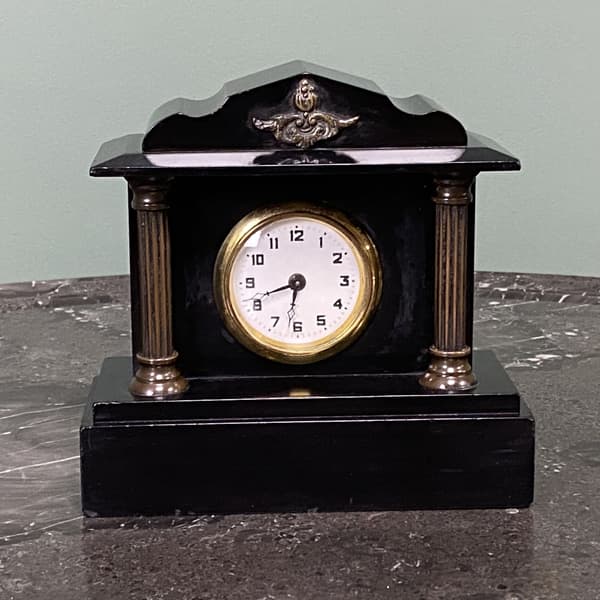
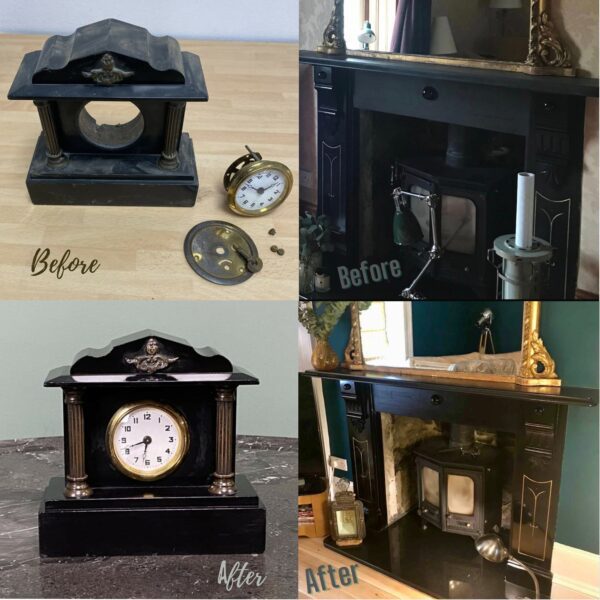
Black Slate Clocks were originally produced in Britain to mourn the loss of Queen Victoria’s husband, Albert, Prince Consort. These lovely little antique clocks were placed on the mantle piece, but because they were above a fire, the heat made their finish become dull over time.
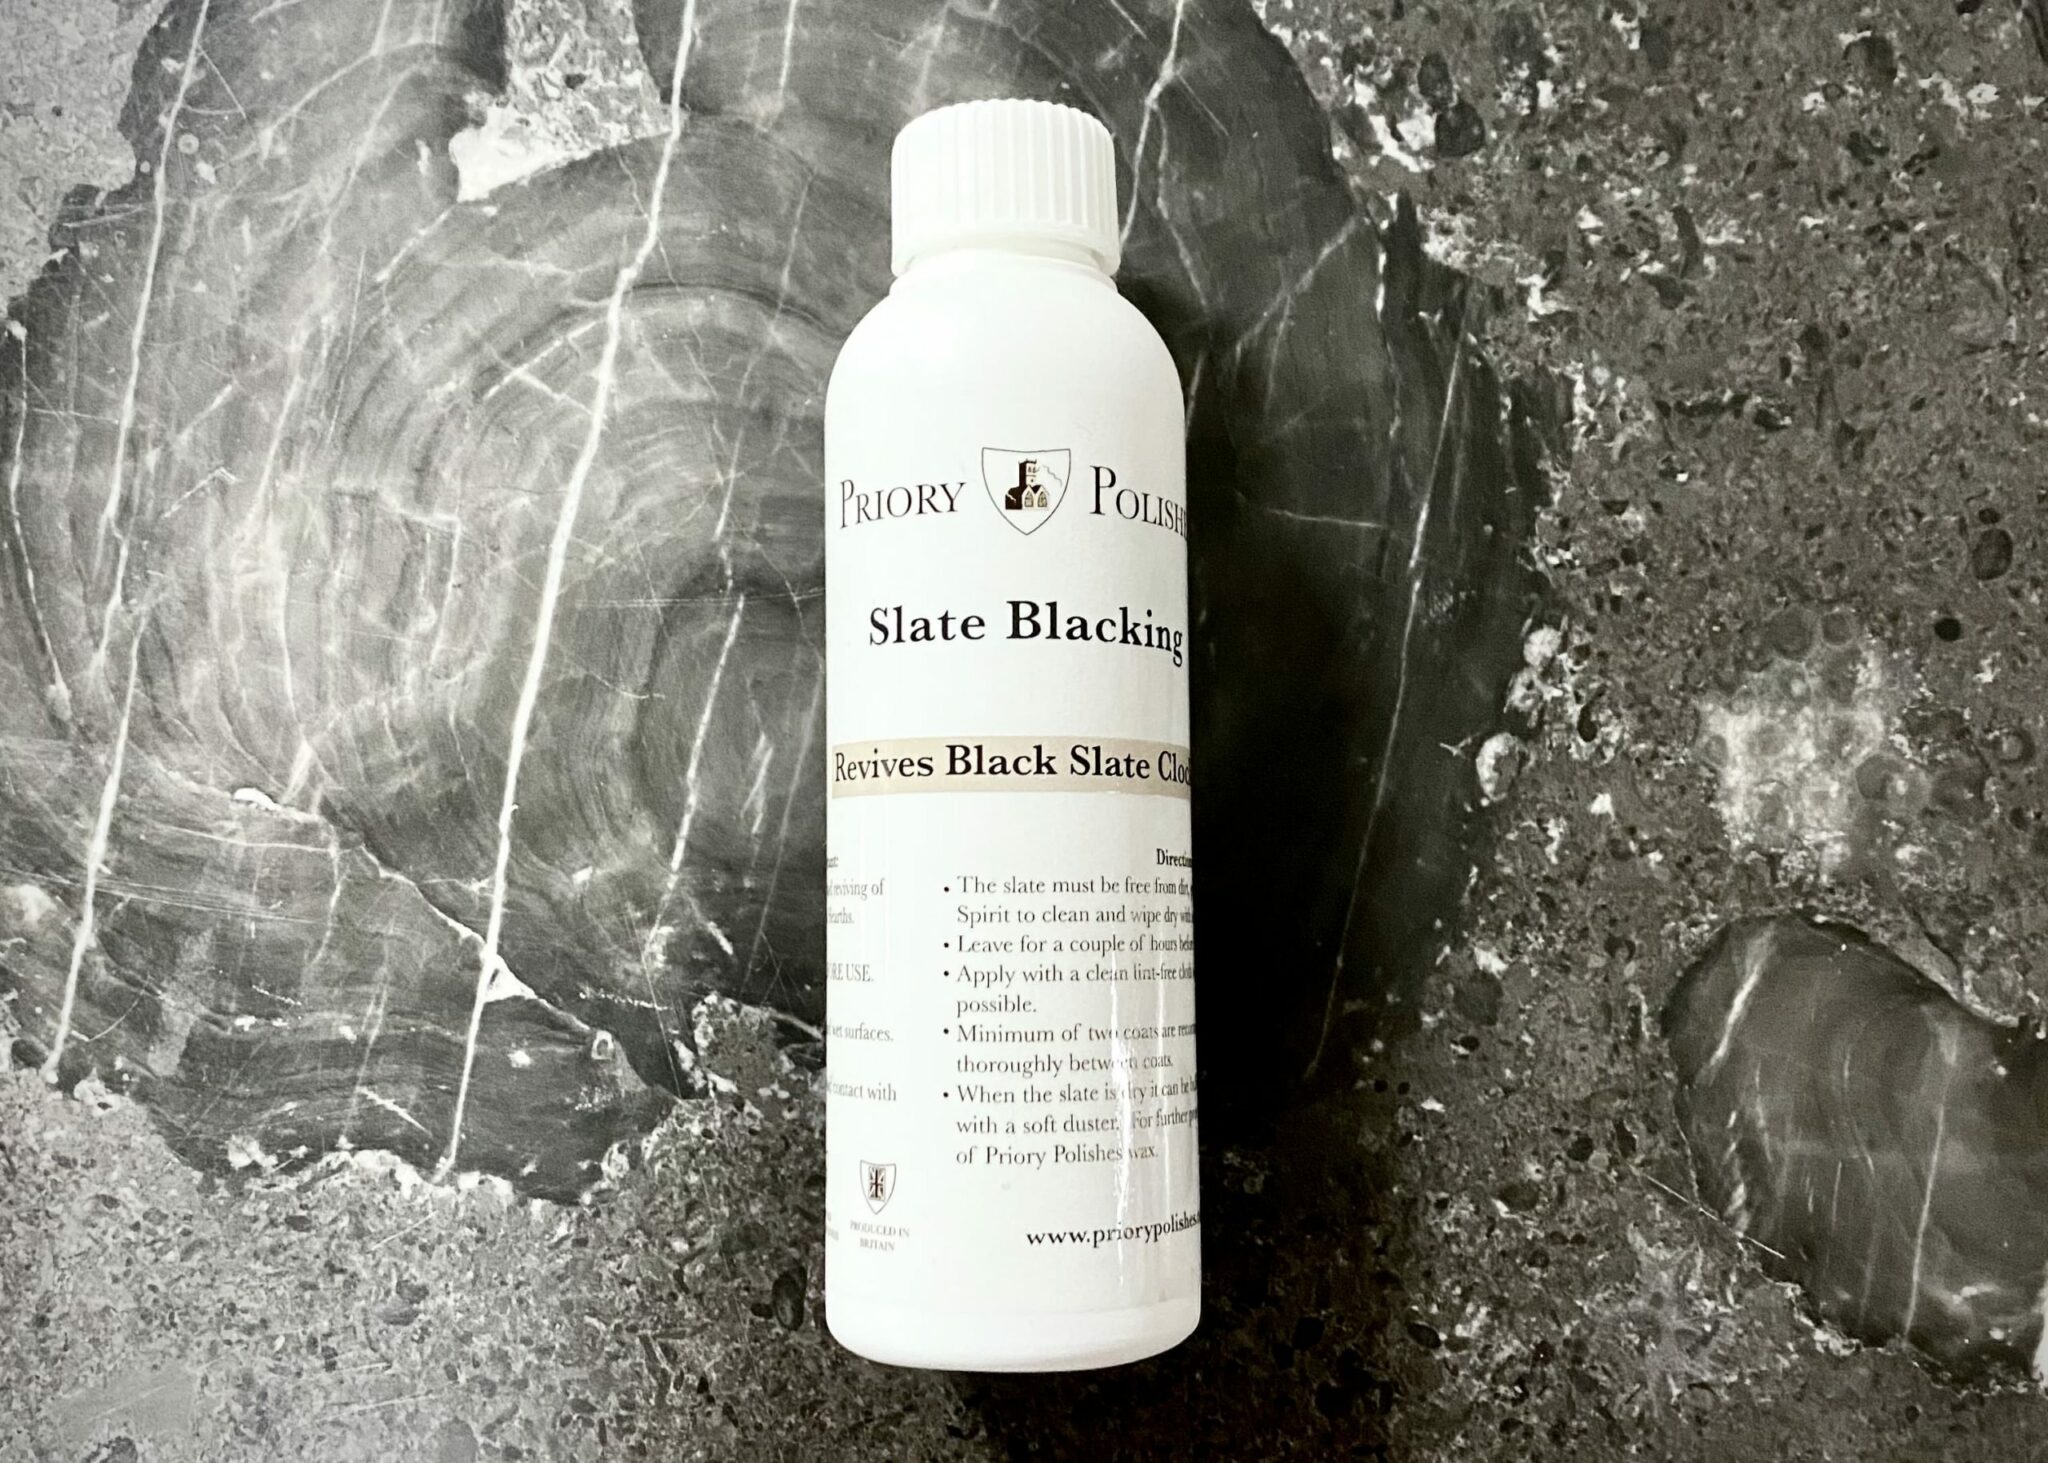
Priory Polishes, Slate Blacking has been specially formulated to revive and restore a black slate clock and black marble clocks. Slate Blacking is a strong black stain / finish that darkens and polishes the surface back to its former glory. Below we are going to demonstrate how to restore a black slate clock easily.
Here is a tutorial of how to use Slate Blacking which we used on a Slate Black Clock.
Directions on how to Restore a Black Slate Clock –
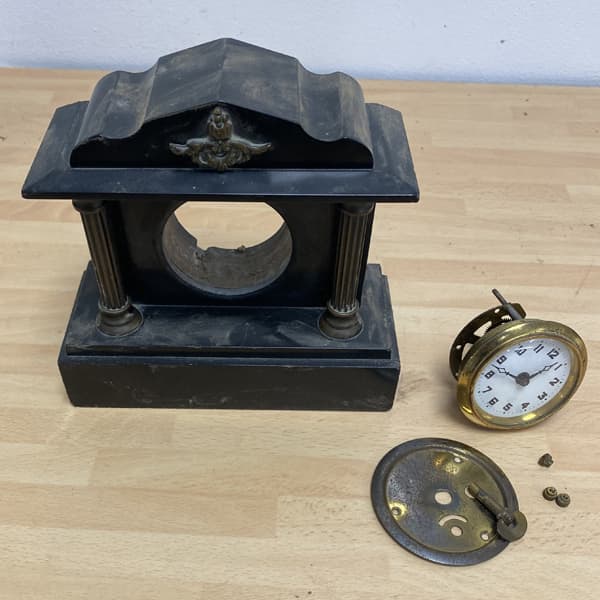
- Firstly remove all the clock movements. Removing the movements is usually very easy by unscrewing small brass screws on the back. It is possible to restore with the movement in place but this makes the task more difficult and you get a better finish with them off. It is always best to break down the clock into as many small pieces as possible for a better finish and to avoid staining the glass / brass areas. Remember, place the movement and the small screws in a safe place as they are easy to lose.
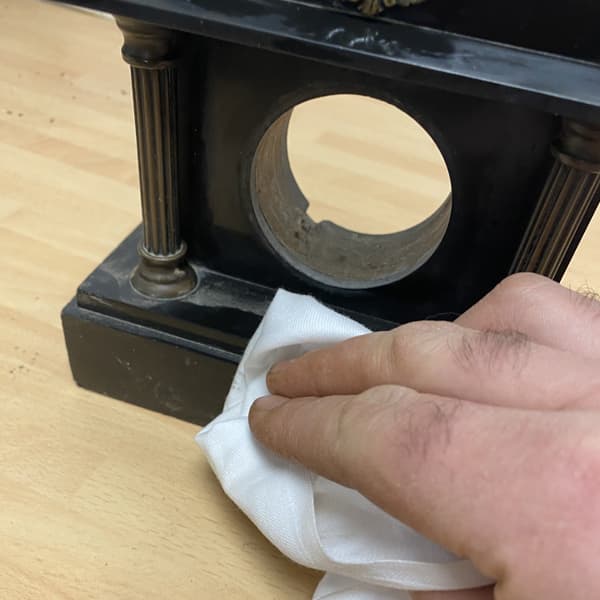
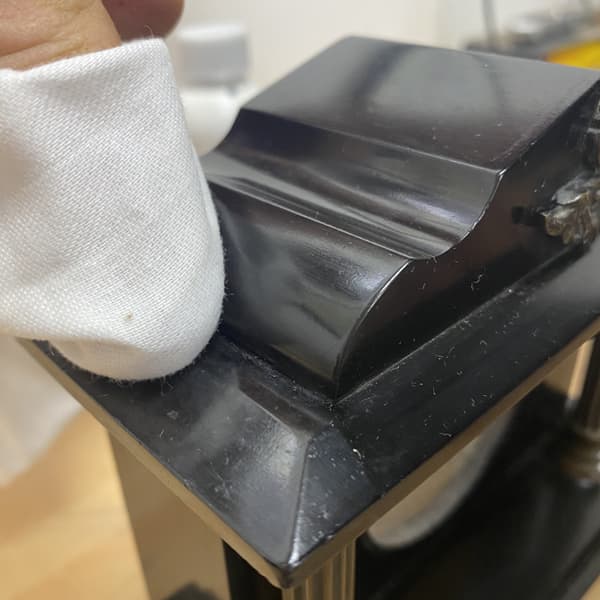
- Now the movement has been removed, you need to clean off all the existing grime from the surface. For the Slate Blacking to work correctly, the slate must be free from dirt, grease etc. To do this, use White Spirit. Wipe over the whole surface with a clean cloth (if it is very dirty use ultra fine 0000 priory polishes wire wool) It is very important that you dry the case extremely well whilst the surface is still wet. Leave for a couple of hours to dry before applying the Slate Black Renovator.
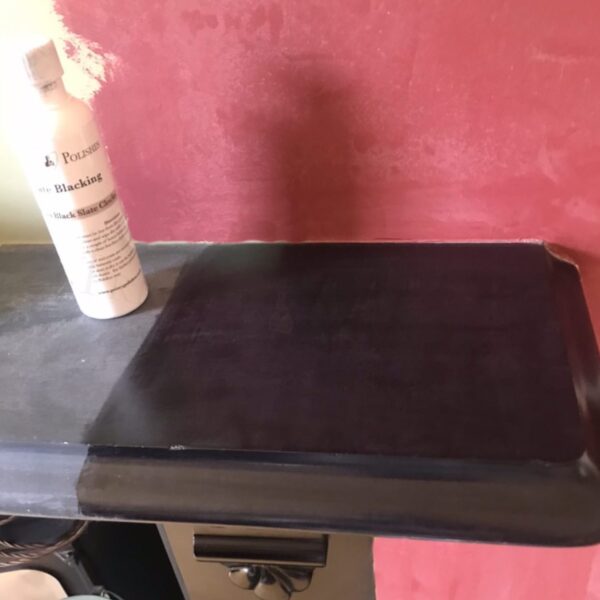
- The next stage is applying the Slate Blacking. First and most important, shake well before use. If any inlay or brass-work is visible, you may want to protect this by covering with masking tape before applying. It is best to wear gloves to prevent staining on your hands and protect your clothing. The Slate Black Renovator should be applied with a clean lint-free cloth or sponge on to the surface. DO NOT rub in, but try to apply as evenly as possible. A soft bristle, small paint brush is ideal to get into all corners and awkward areas.
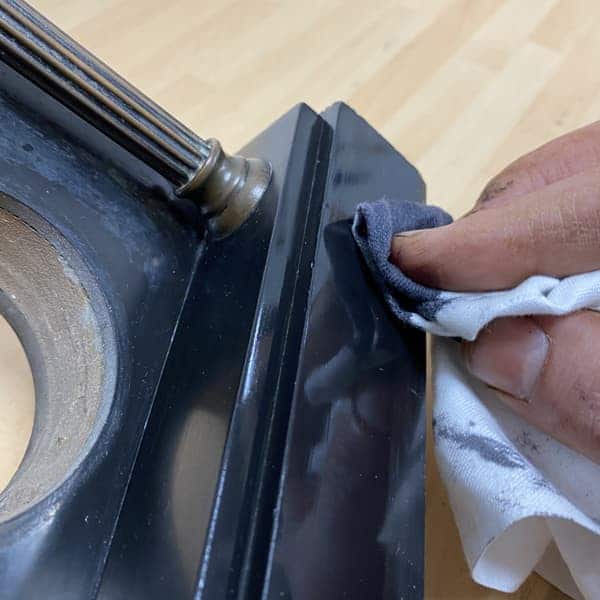
The minimum of two coats are recommended but allow drying thoroughly between layers (leaving several hours between coats).
- When the Slate is dry, it can be carefully buffed up with a soft duster. For further protection and to add a more durable seal along with a nice even sheen apply a light coat of Priory Medium to Dark Tones Wax Polish. Leave for ten to fifteen minutes to dry and then buff off the excess with a clean lint free cloth.
- Once you have finished this stage, you can clean any Brass areas before putting them back on the clock. Use a Brass Polishing Cloth, or our clockmakers No1 Ammoniated cleaning fluid, ideal for cleaning clock movements and Brass fittings.
- Carefully fit the mechanism back into the case and secure the movement to the back. Make sure the figure 12 is at the top and do not over tighten the screws as you do not want to round the heads of the screws. For future maintenance don’t forget to oil your mechanism using our Priory Clock Oil.
These are some of the products we used to restore a black slate clock, bringing it back to its former glory.
-
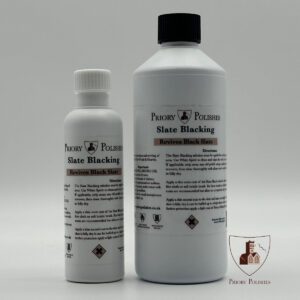
 Priory Polishes Slate Blacking – Black Slate Restorer£12.95 – £32.50
 -
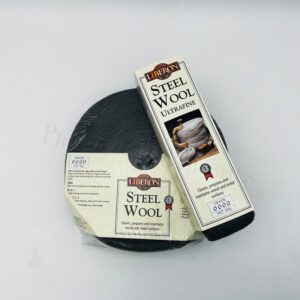
Ultra Fine 0000 Steel Wire Wool£4.69 – £17.99
-
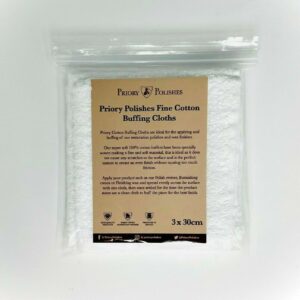
Priory Polishes Fine Cotton Buffing Cloths£4.50
Slate Blacking isn’t just perfect for being used on Slate Clocks, it can also be used on Slate Tiles, Black Marble, Slate Statues, Slate Hearths, Slate Fire Surrounds etc.
2 Comments. Leave new
This isn’t going to help if you have gilded paint in the decorative car I gs in the front of the clock as my clock has
Hi
With gilded areas, you would usually cut some very thin slips of masking tape and cover them up before applying. You can then easily remove the masking tape when completed and this will stop the blacking from colouring the gilding.
I hope this helps